|
Open Cockpit |
Enclosed Cockpit |
 |
 |
The Series One cockpit is the first cockpit in the DIY Cockpit Project series and the design is patterned after the Messerschmitt Me-109 single seat fighter used by Germany in WWII.
This design was chosen because its general layout is mostly angles with few if any difficult to make curves. This is very important, especially for the novice woodworker. The cockpit framework can be made as expensively or as inexpensively as you like.
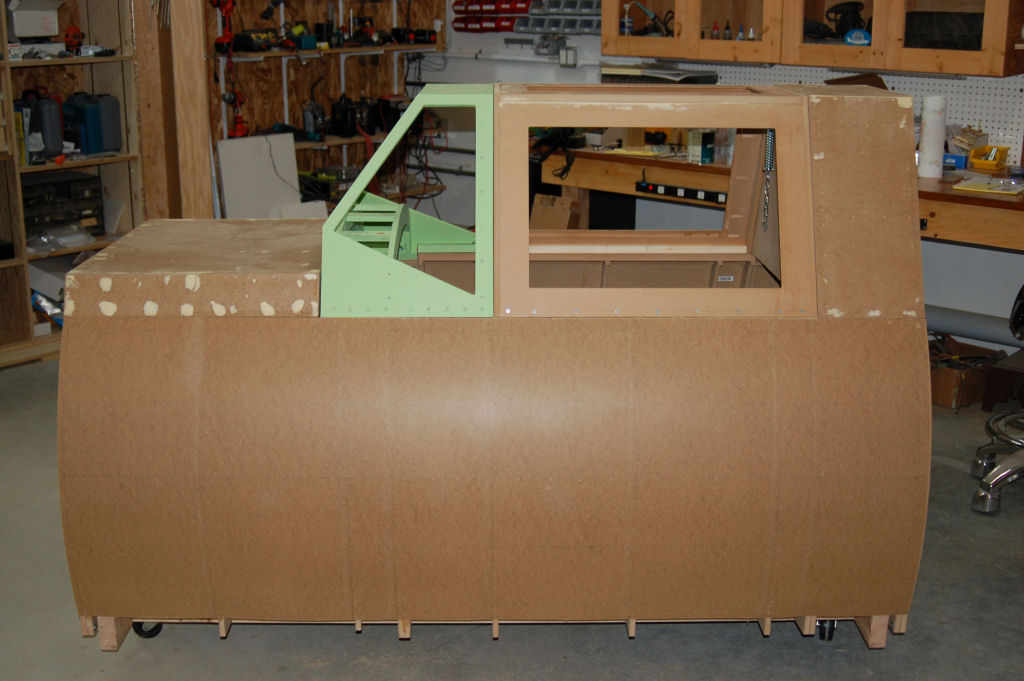
The prototype was built using very inexpensive 7/16" thick OSB (Oriented Strand Board). OSB in 4x8 sheets of that thickness is less than $7 per sheet The prototype has less than $30 in materials, not including the skin and various hardware items.
The framework of the "production" model was made entirely from 1/2" MDF (Medium Density Fiberboard) and at $25 per sheet, was considerably more expensive to build than the prototype. The choice of materials is entirely up to the builder. The drawings were made to allow you to chose any material that was 7/16" to 1/2" in thickness. You could even use a nice 1/2" Finnish Birch plywood if you wanted, but your materials cost would skyrocket. You can skin the cockpit with 1/8" tempered hardboard or if you're feeling especially hard-core, you can use sheet aluminum about .040 in thickness. The instruction manual doesn't cover how to attach an aluminum skin, but if you're interested please email me via the Contact page and I'll be happy to point you in the right direction.
The cockpit can be built in one of two configurations:
|
Open Cockpit |
Enclosed Cockpit |
|
|
|
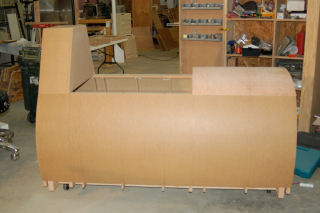
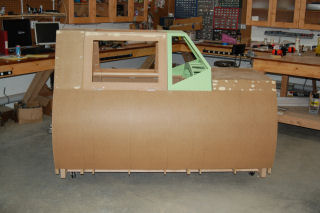
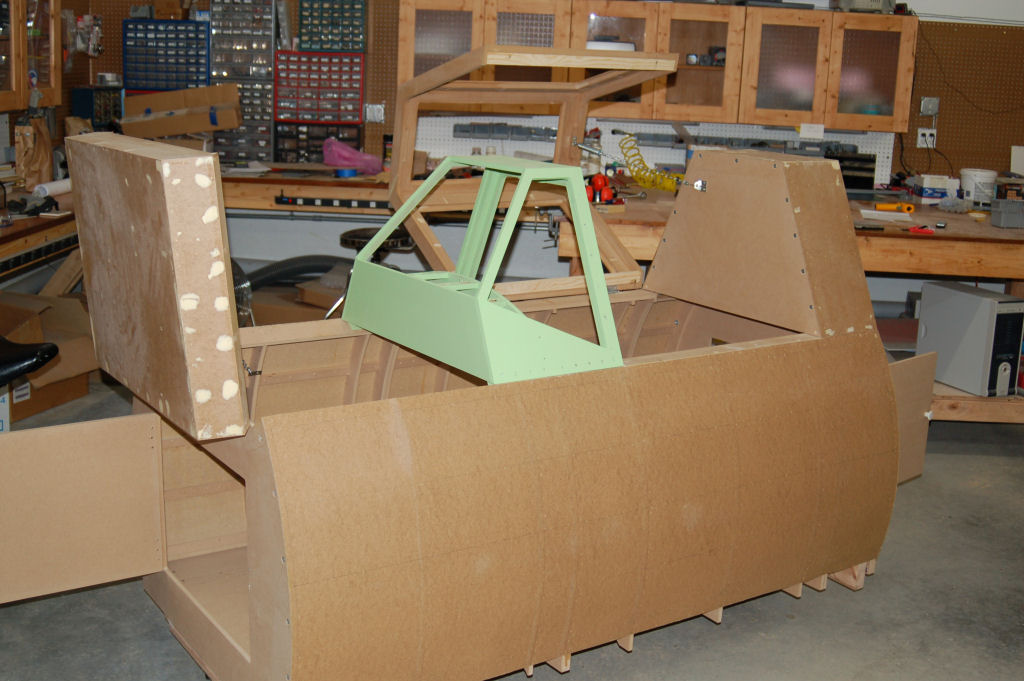
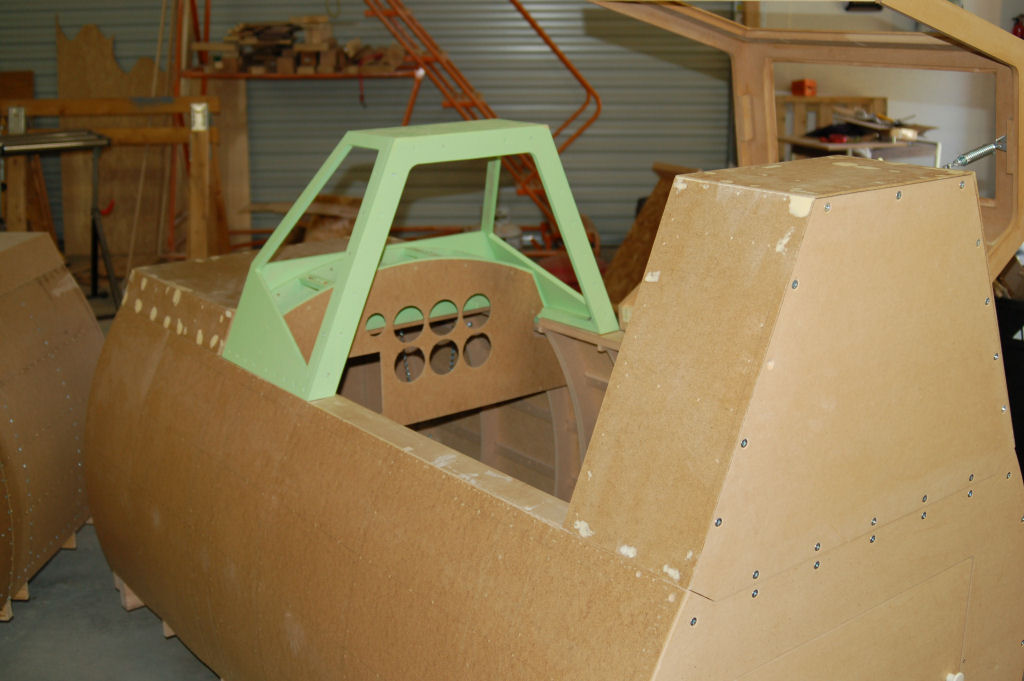
The Open Cockpit has more of a civilian feel to it and lacks the windscreen and canopy frame of the Enclosed version. The plan set you get will have all the drawings needed to create either version. Once the main "tub" is constructed, you can even change back and forth between the two styles if you want.
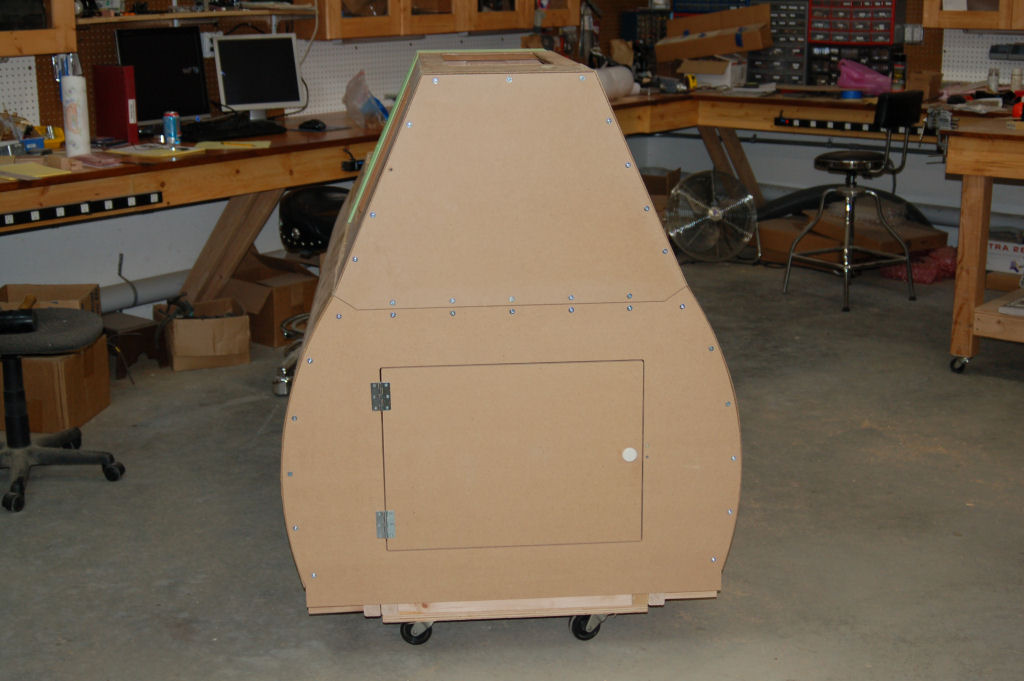
The Series One cockpit was designed in such a way to allow the builder to disassemble it into 5 or 7 separate sub-assemblies (depending on the version constructed) for easy transportation. This is especially nice for those with limited space - you can quickly break the cockpit down for storage.
The cockpit itself is 74" long and 40" wide at the widest point and 53" high at the tallest point. The cockpit interior space is 36" from the face of the cockpit arch in the rear to the face of the windscreen frame in the front and 24-3/4" wide. The distance from the floor to the top of the cockpit rail is 25-3/8". The interior dimensions are approximately the same in the "open" version.
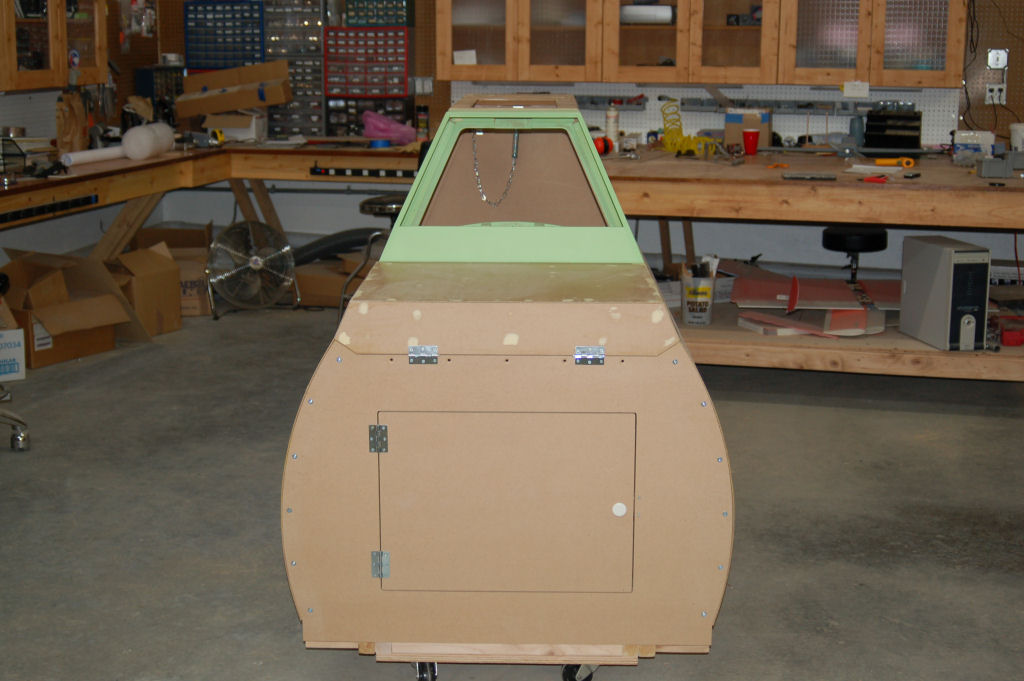
The cockpit design ensures easy access to the interior spaces even after assembly:
As you can see, there are access doors on each end of the cockpit and the Monitor Deck that sits ahead of the windscreen also tilts up for easy access to the forward interior.
|
The cockpit from all sides |
|
 |
 |
 |
 |
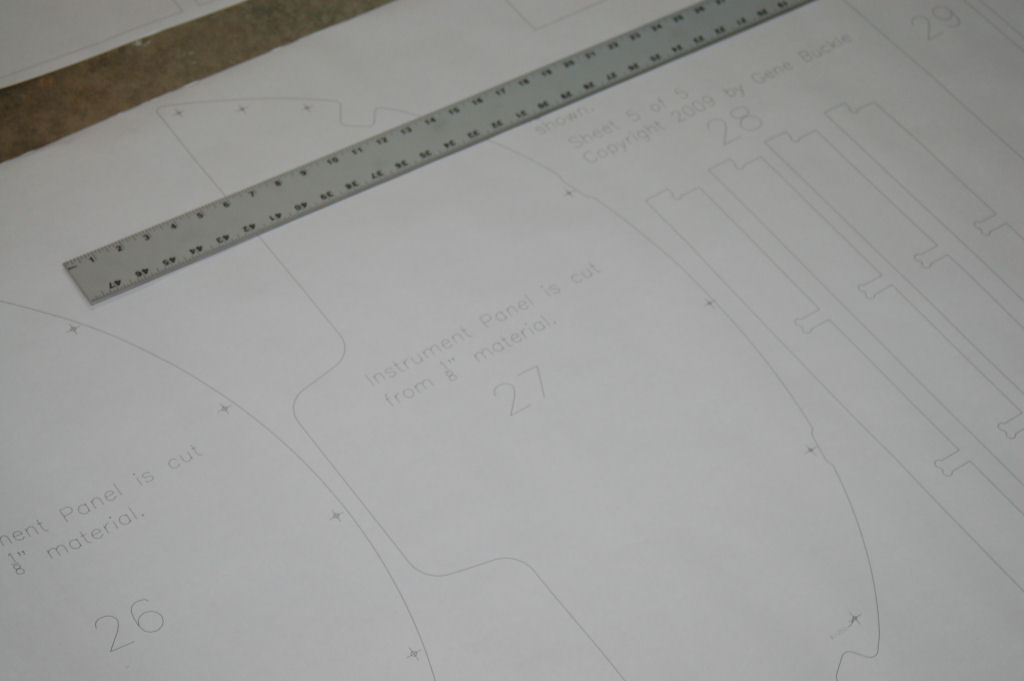
To create the parts for your cockpit, you'll create hardboard or card-stock templates using the printed plans in order to create full size parts. It's important that you create the intermediate templates because there may not be the same number of drawings as there are parts needed, especially considering the rib parts - the plans have three copies of the two types, just in case.
The purchase price gets you 5 36"x84" professionally printed plan sheets and a CD with approximately 280 images that were used to produce the manual.
|
The printed drawing set |
|
 |
 |
As you can see, it's a lot of paper. :) The CD also includes a copy of the PDF manual and the PDF files listed below for the "paperless" version.
With the "paperless" version, you will get a CD with 5 PDF files that will allow you to print the plans out on any large format printer that can print them full size (36x84). The CD will also include the images and PDF documentation as mentioned above.